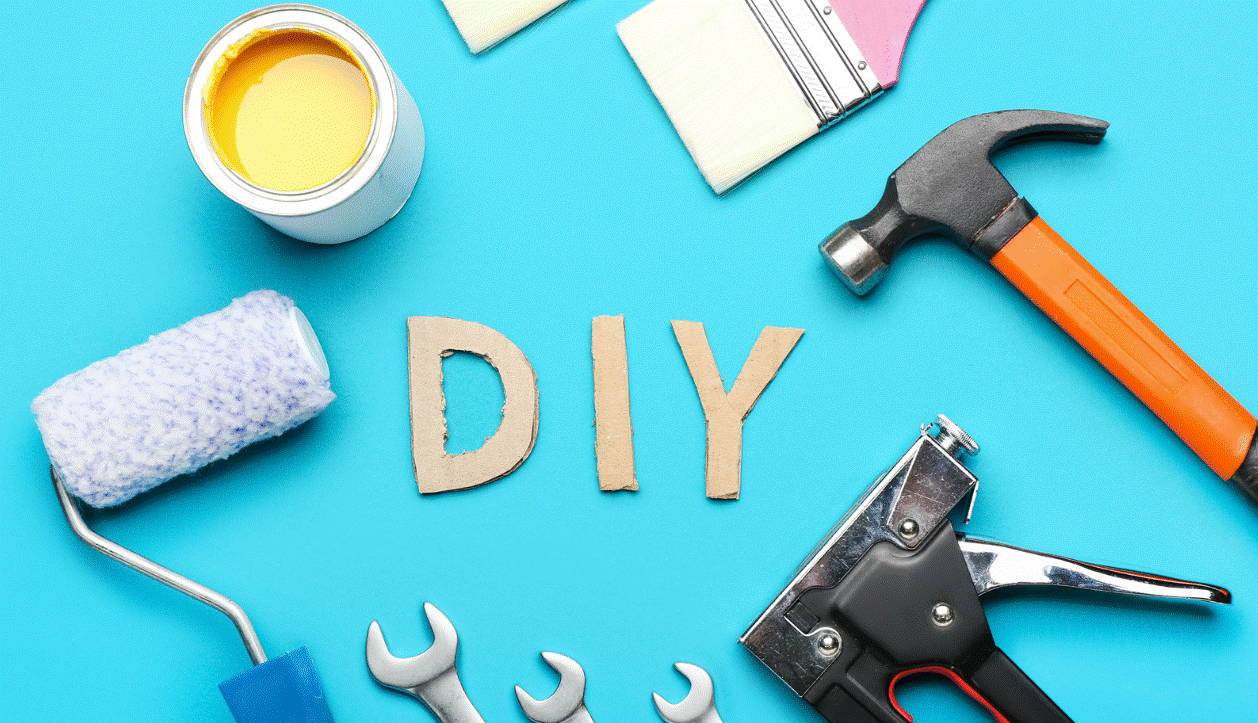
Taking on minor repairs around your home can save you money, give you a sense of accomplishment and even be a fun way to spend your weekend. Thankfully, you don’t need to be a professional handyman to handle the basics. You can tackle these common home repairs yourself with a few tools and some guidance.
Benefits of Doing It Yourself
Completing minor repairs yourself offers several benefits. Here are some compelling reasons to get your hands dirty:
● Cost savings: Hiring a professional for even the smallest tasks can be expensive due to labor charges and call-out fees. In 2022, the average American consumer spent $1,570 on home maintenance — a $600 increase from the previous year. By doing the repairs yourself, you can save a substantial amount of money, which you can use for home improvements.
● Skill development: Learning to fix things yourself enhances your problem-solving abilities. Over time, you build a toolkit of skills to apply to various repair projects.
● Sense of accomplishment: A great sense of pride comes with completing a repair on your own.
● Immediate results: When you do these tasks yourself, you can address issues immediately without waiting for a professional’s availability. This is particularly useful for urgent fixes that could impact your daily life.
5 Home Repairs You Can DIY
Taking on home repairs yourself can be rewarding and budget-friendly. You save plenty of money in the long run by handling minor fixes around your home. Here are five common home repairs you can confidently tackle on your own.
1. Outdated Light Switches
If a light switch stops working or you want to upgrade to a more modern style, you can replace it yourself.
Tools you’ll need:
● Screwdriver
● Voltage tester
● Replacement switch
Steps:
1. Turn off the power to the switch at the circuit breaker.
2. Remove the switch plate and use a voltage tester to ensure the power is off.
3. Unscrew the switch from the electrical box and disconnect the wires.
4. Connect the wires to the new switch. Typically, black (hot) wires connect to brass screws, and green or bare (ground) wires connect to the green screw.
5. Secure the switch in the electrical box and attach the switch plate.
6. Turn the power back on and test your new switch.
2. Damaged Cabinet Hinges
Cabinet hinges can suffer from wear or be affected by humidity and temperature changes, causing the doors to warp, contract and expand. This can lead to misalignment and functional issues. Here’s how you can fix them.
Tools you’ll need:
● Screwdriver
● Wood glue or filled
● Clamps
● Drill
● Replacement screws or hinges (if necessary)
● Wood dowels or toothpicks
Steps:
1. Inspect the cabinet doors for warping or misalignment.
2. Tighten the screws on the hinges using a screwdriver.
3. If the screws are stripped, remove them and fill the holes with wood glue and wooden dowels or toothpicks. Allow the glue to dry, then trim the excess wood.
4. Drill the new pilot holes and insert new screws to secure the hinges.
5. If the hinges are damaged or rusted, replace them with new ones.
6. Adjust the hinges to ensure the cabinet doors are properly aligned. Many hinges have adjustable screws that allow you to fine-tune the door’s position.
3. Blocked Drains
A slow and clogged drain is a common issue you can easily fix without calling a plumber and digging deep into your pockets.
Tools you’ll need:
● Plunger
● Baking soda and vinegar
● Drain snake
Steps:
1. Use a plunger to try and dislodge the clog. Ensure enough water is in the sink to cover the plunger’s suction cup.
2. If plunging doesn’t work, use a drain snake. Insert it into the drain and twist it to catch and pull out the clog.
3. For a natural solution, pour baking soda and vinegar down the drain. Let it sit for 15 to 20 minutes, then flush with hot water.
4. Leaky Faucets
A dripping faucet is not only annoying, but one leaky tap can waste up to 3,000 gallons of water a year. Luckily, fixing it is straightforward.
Tools you’ll need:
● Replacement washer or cartridge
● Adjustable wrench
● Screwdriver
Steps:
1. Turn off the faucet’s water supply.
2. Use the screwdriver to disassemble the faucet handle.
3. Remove the cartridge or washer using the adjustable wrench, depending on your faucet type.
4. Replace the faulty parts with new ones.
5. Reassemble the faucet and turn the water supply back on.
5. Small Holes In the Wall
Whether it’s from hanging pictures or a doorknob bump, small holes in walls are inevitable. Here’s how to make them disappear.
Tools you’ll need:
● Putty knife
● Spackle or joint compound
● Sandpaper
● Paint
Steps:
Clean the hole and the surrounding area.
- Apply spackle or joint compound over the hole using the knife.
- Smooth it out and let it dry according to the instructions.
- Sand the area until the wall’s smooth.
- Paint over the patch to match the rest of the wall.
Save Your Money and DIY It
There’s no need to call a professional for every crack and clog when they’re simple fixes you can do on your own. By taking on these minor repairs yourself, you can save money and gain valuable skills that will make you more self-sufficient.


